Showing posts with label snack. Show all posts

Monday, June 7, 2010

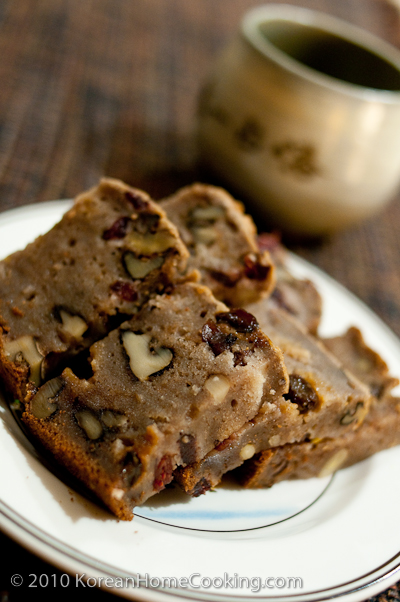
Azuki Rice Loaf Cake


I get a lot of requests for rice cake recipes, but truth be told, I am not an expert on the subject matter. I don't think rice cake recipes are very complicated, but the kneading part requires some professional-level judgement on the amount of water it needs and, of course, lots of patience. After my semi-failed attempt to make homemade rice cake last time, I have been eagerly looking for rice cake recipes that are fail-proof and also easy to make. I didn't have to go far to find one.

Awhile ago, I was chatting with my mom in her kitchen and found something wrapped in aluminum foil. I asked mom what it is, and she told me to just try a piece. On the first bite, I knew this was what I've been looking for. It was deliciously chewy and also crunch when you bite on the nuts. And it seemed easy to make. When I asked for a recipe, she already had one written out for me.


Ingredients:
Mochiko sweet rice flour (1 box)
baking powder (1 1/2 tsp)
baking soda (1 tsp)
salt (1 tsp)
sugar (1 tbl)
honey (2 tbl)
azuki bean/red bean (1 can)
raisin, pine nut, walnut (2 cup)
milk (2 cup)
egg (1 medium)


1.
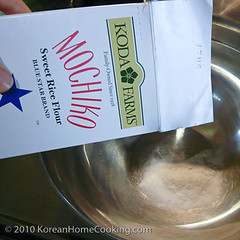
Pour the whole box of Mochiko sweet rice flour.
2.
Add 1 1/2 tsp of baking powder, 1 tsp of baking soda, and 1 tsp of salt, and mix well.
3.
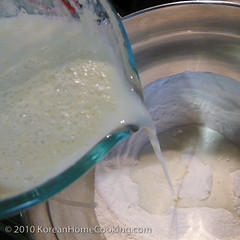
Add a mix of sugar, honey, egg, and milk.
4.
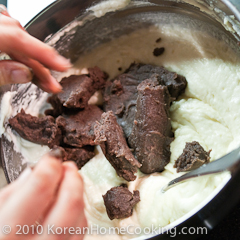
Add a can of red beans/azuki beans. Instead of canned azuki beans, you can boil azuki beans and add some extra sugarboiled red bean, or use red bean paste (in the picture).
5.
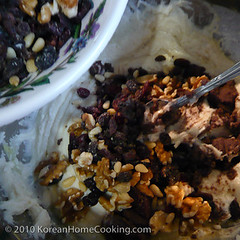
Add the remaining ingredients altogether (canned azuki beans, raisin, pine nuts, and walnuts) and mix well..
6.
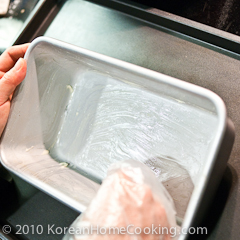
Grease a 9x5 pan with butter.
7.
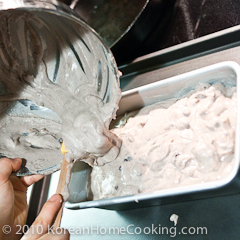
Pour the mix into the pre-greased loaf pan.
8.
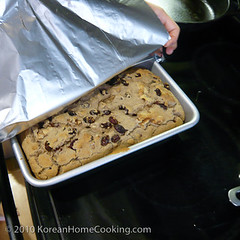
Bake for 30 minutes at 375 degrees. Then cover the top with an aluminum foil and bake for another 20 minutes.

Featured Items:

Sunday, June 6, 2010

Homemade Granola Bar


Ever since I first made these homemade granola bars, I've been making them more frequently than we used to buy them from a store. In fact, we no longer buy granola bars from a store, since it is so easy to make at home and homemade granola bars taste much better. It's also healthier.


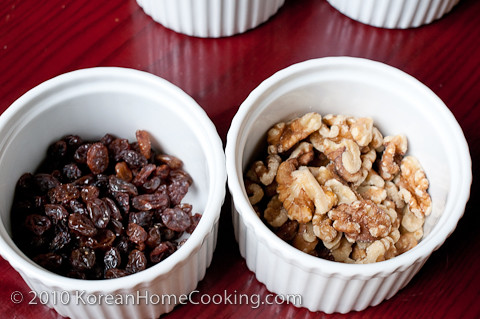
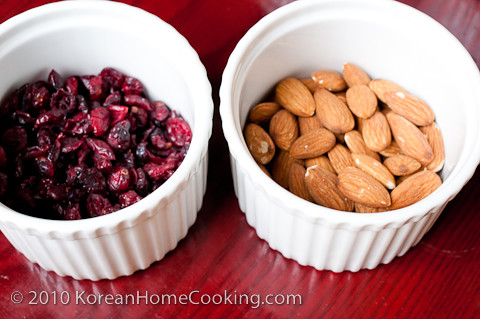
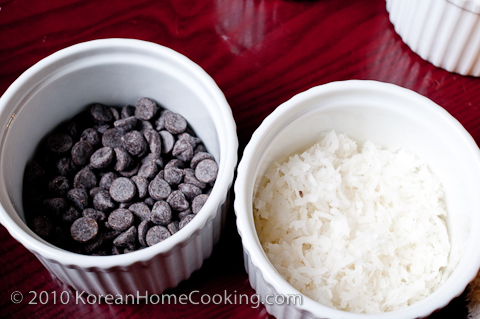
The fun part about these homemade granola bars is that you get to choose the ingredients that you like. For example in this recipe, I used walnuts and raisin. I have also tried the cranberry and almond combination, which is very good. Min's favorite is chocolate and coconut flakes. The list of ingredients you can try is endless. So, what's your favorite combination of ingredients?


These granola bars also make sweet gifts. Just wrap each granola bar in a piece of baking paper or any waxed paper and twist the ends to make a candy wrap. I made a gift basket of granola bars and cookies and gave to Min for Valentine's Day this year. Yes, he was sweetly touched :D


Ingredients:
rolled oats or rye flakes (1 cup)
marshmallow (100g - 14 large-size pieces or 2 cup small-size)
butter (1 1/2 tbl)
walnut haves (1/2 cup, crushed)
raisin (1/2 cup)
1.
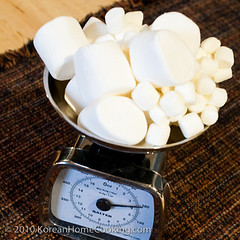
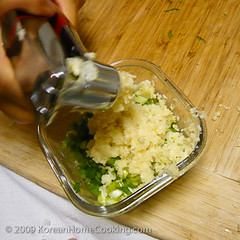
You need approximately 100grams of marshmallow. That is about 14 large-size marshmallows or 1 cup of small-size marshmallows.
2.
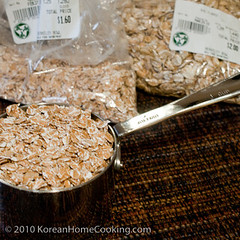
You need 1 cup of rolled oats (or rye flakes). I bought these from Berkeley Bowl, my favorite grocery store in the world!
3.
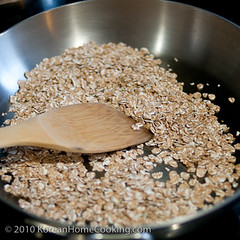
Roast the rolled oats or rye flakes from Step 2.
4.
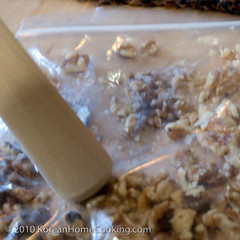
Crush the walnut haves into little pieces by pounding them in a zipper bag.
5.
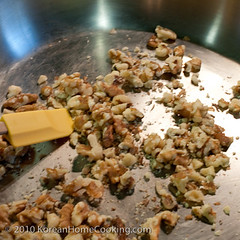
Roast the walnut pieces on a pan over medium heat.
6.
Coat a 9X5 plastic container or a baking pan with waxed paper.
7.
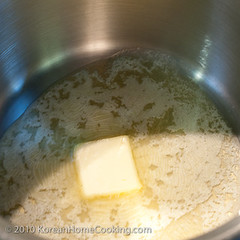
Melt the butter in a pan over low to medium heat.
8.
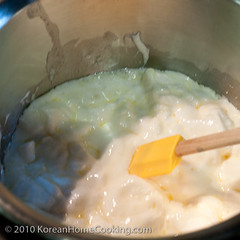
Add marshmallows from Step 1 into buttered pan from Step 7.
9.
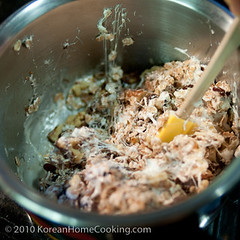
When the marshmallows are all liquidified, turn off the heat, and add the remaining ingredients of your choice (e.g., walnuts and raisins)
10.
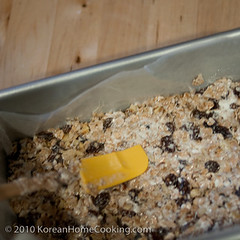
Move the mix from Step 9 into the prepared pan from Step 6 and flatten the top evenly with a spatula. Then refrigerate for approximately 20 minutes.
11.
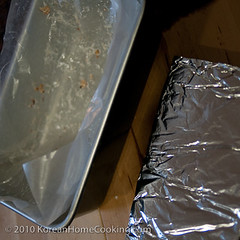
Once the mix is cooled off, wrap it in aluminum foil and refrigerate for another half hour.
12.
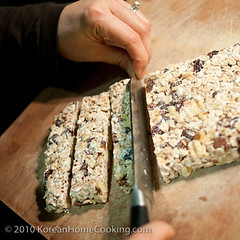
Cut into individual granola bars.

Featured Items:

Monday, May 10, 2010

Royal Ttuk Bbok Kki

궁중떡볶기[goong-joong-tteok-bbok-kki]
In Korea, tteok bbok kki is almost synonymous with 'street foods' or 'cheap foods'. It's needless to say that tteok bbok kki is the No. 1 best selling street foods. However, tteok bbok kki's original form and the context it was served in the past is quite different from what we see on the street carts in Korea today.

Back in the old days, tteok bbok kki used to be an exclusively royal cuisine cooked with slices of beef, shitake mushroom, and a mix of colorful vegetables in soy sauce base instead of chili paste. Since red chili was not introduced to Korea until the early 1600s, the spicy tteok bbok kki we know of today is a relatively modern creation considering the 5000-year-long Korean history. It appears that when the red chili was introduced to Korea, people simplified what was a luxury royal cuisine into a commoners food with red chili sauce and slices of fish cake in place of beef and fancy vegetables. This royal tteok bbok kki doesn't have the Korean spicy kick, but you get to enjoy sweet soy sauce taste and crispy vegetables.


Ingredients for 2 servings

rice cake (2 handful, or 24 each)
shitake mushroom (2, sliced)
rib eye or skirt stake (1/2 lb, sliced)
onion (1/4 medium, sliced)
bell pepper (1/2, sliced)
red pepper (1 sliced)
carrot (1/2, julienned)
scallion (1 stalk, cut lengthwise)
oil
sesame seeds for garnish

Seasoning:
garlic (1-2 cloves, minced)
sesame oil (1 tbl)
Korean soy sauce (3 tbl)
brown sugar or honey (1 tbl)
salt and pepper


1.
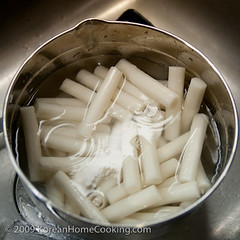
Soak rice cake in water for 10+ minutes.

2.
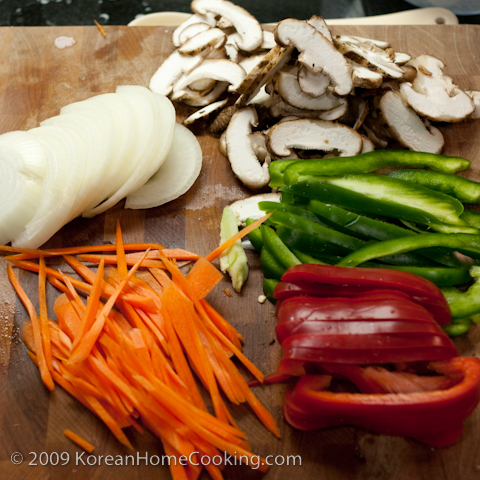
Prepare vegetables.

3.
Prepare the sauce by mixing minced garlic in soy sauce, sesame oil, brown sugar.

4.
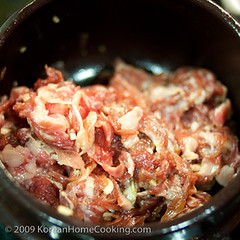
Marinate beef for 30 minutes using half the sauce from Step 3.

5.
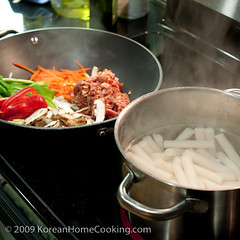
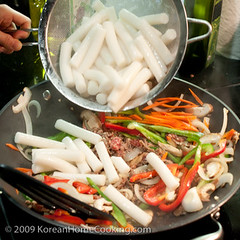
Bring the rice cakes from Step 1 to boil and drain. In a wok or a pan, stir fry the marinated meat from Step 4 and the vegetables from Step 3.

6.
When the meat and vegetables are about half cooked, add the rice cakes from Step 5.

7.
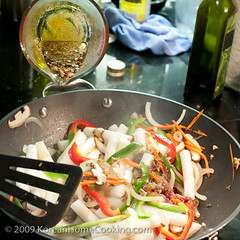
Add remaining sauce from Steps 3 and 4, and stir fry. Sprinkle some sesame seeds on top before serving.

Tuesday, October 20, 2009

How to make Dumpling

만두[maan-doo]
My mom learned this recipe from my paternal grandmother, and I learned this recipe from my mom. I suppose my grandmother learned this from her mother or mother-in-law as well. I am so glad I can continue on my grandmother's (or who knows it could be my great great grandmother's?) recipe today.

Dumpling is widespread throughout Korea, but technically it is a specialty of the northern province. My grandma comes from Hwanghaedo, the north western part of Korea which is now North Korea. When the Korean war broke, my grandma took a refugee to the south with my dad and my aunt. My grandfather was supposed to join her in the south after taking care of some errands in north. But he never made it to the south, because the border was fenced off overnight between the south and the north right after they parted. This is a sad part of my family history which my generation doesn't have any memories of but our grandparents or parents do and have to live with them. I am sure many families in Korea share similar family histories.

This recipe makes 50 dumplings which serve about 5 to 6 people depending on one's appetite. When my mom makes dumplings, she usually makes several hundreds of them at once and freeze them for later use. When freezing the fresh dumplings, there is a two-step process which my grandma used, and my mom continues the same way. On a recycled styrofoam plate (which is found in a meat or vegetable packaging), place each dumpling at least 1/4 inch apart and freeze for 1 hour or so. After that, move all the dumplings into a small zipper bag and freeze them for a longer period. The initial freezing process prevents dumplings sticking to each other.


Ingredients for 50 dumplings (5-6 servings)

Fillings:
napa cabbage (1/4, julienne)
cabbage (1/4, julienne)
onion (1/3 large or 1 small, sliced)
ground beef (1/2 lb)
tofu (1 block, firm)
shitake mushroom (7, sliced)
mung bean sprout (1 package)
gyoza skin (50)
transparent vermicelli noodle/ dangmyun (1 handful)

Seasoning:
scallion (7 stems, chopped)
garlic (10 cloves, minced)
coarse salt (1 cup)
salt (2 tsp)
pepper (1/2 tsp)
sesame oil (1 tbl)


1.
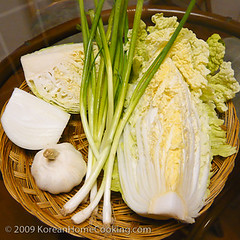
From the clockwise direction, main ingredients include scallion, garlic, onion, cabbage and napa cabbage.

2.
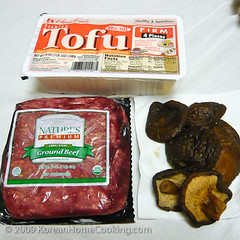
Also prepare ground beef, tofu and shitake mushroom.

3.
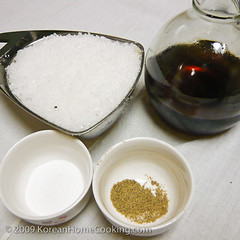
For the seasoning, prepare coarse sea salt, sesame oil and salt and pepper.

4.

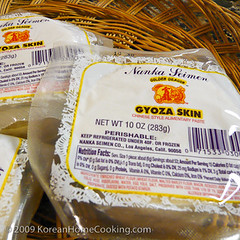
And gyoza skin. If you want home-made gyoza skin, simply make it with the dough of flour, water and some salt.

5.
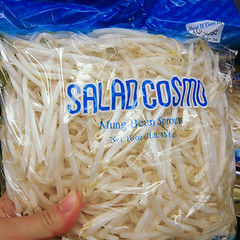
You would also need a bag of mung bean sprout.

6.
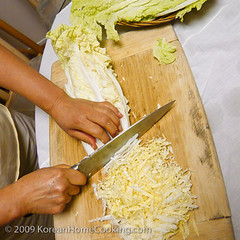
Julienne the cabbage and napa cabbage. Try to slice as thinly as you can. Otherwise, they are going to poke right through the gyoza skin.

7.
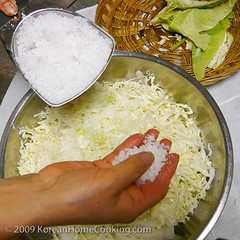
Sprinkle course sea salt over the cabbage and napa cabbage shreds, and set it aside for 2+ hours.

8.
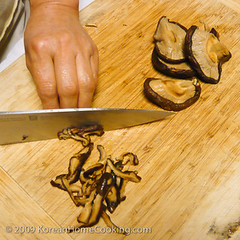
Meanwhile, julienne other vegetables (onion and shitake mushroom).

9.
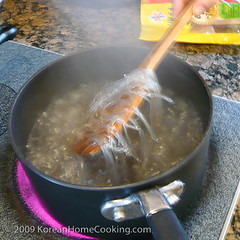
Also cook transparent vermicelli noodle (dangmyun) per instruction and cut 1-2" long.

10.
For the seasoning, prepare crushed garlic, chopped scallion, salt and pepper.

11.
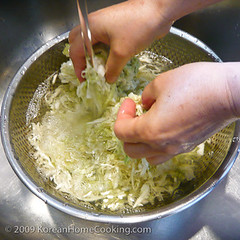
Drain the water generated from salted cabbage and napa cabbage from Step 7. Wash the mix and drain completely.

12.
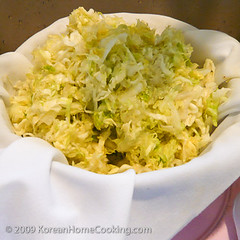
Place the cabbage and nappa cabbage in a thin coarse piece of cooking cloth.

13.
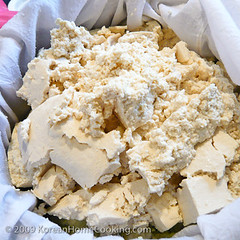
Add cooked vermicelli from Step 9 and crushed tofu to cabbage mix in Step 12.

14.
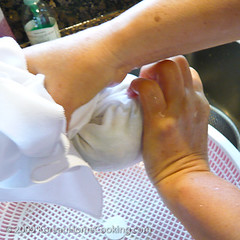
Twist the bag and completely squeeze out the water from the mix. My mom sometimes uses the laundry washer to borrow its spinning power. If you want to use washer, be sure to set it to the spinning cycle.

15.
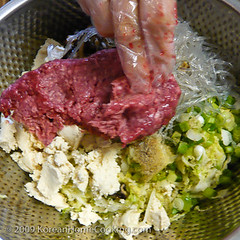
When the water is completely squeezed out, add ground beef and all the seasonings (i.e., garlic, scallion, salt, pepper, sesame oil)

16.
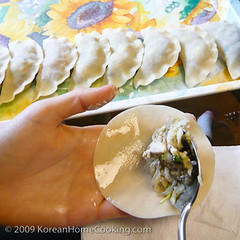
Place a spoonful of mix in the center of gyoza skin and seal the trim with water or egg white.

Related Links
Dumpling Recipes